The advantages of laser technology in intelligent production are widely known, but what convinces most of the users to use a laser is primarily its high processing speed, precision, consistent quality of the final product, ease of automation, and low operating costs. If we add regular reductions in laser source prices, we are dealing with a situation in which an increasing number of companies select laser welding methods as the preferred alternative to traditional methods. Laser beam welding enters many innovative industries—this is no longer just an automotive domain—and lasers are used in the production of batteries and cells, the medical industry, and the energy industry. The common goal of companies operating in these domains is to increase competitiveness through higher quality and significantly lower production costs.
The current situation in the laser welding market
Modern production companies that want to fully benefit from laser welding are looking for effective methods of weld quality control. By optimising their manufacturing costs, they focus on reliable, real-time (online) control methods that save time and ensure full process repeatability.
There are several alternative methods available on the market, which include control procedures based on measurements of plasma and reflected laser radiation.
AIC S.A. – a global supplier of customized heat exchangers, is one of the companies that have found specifc laser applications in their production. According to the philosophy of continuous improvement, which has been guiding the company’s activity for many years, production and control processes are constantly corrected and improved in order to deliver the highest quality products. Being a leader in the use of laser (welding, 3D cutting, ablation, and structuring), AIC designs and develops solutions that are used in both highly advanced unit structures and mass production, carried out one-off products but also a serial production.
This approach has made it possible to create products that are very compact, efficient, and cost-competitive at the same time.
How has laser revolutionized the production of heat exchangers?
Depending on the type of exchanger, the degree of use of lasers in heat production varies on average from 50% to 95% of all welded joints. During a year, several thousand kilometres of laser welds leave the factory, which raises a significant challenge in the area of quality control. The long-standing reputation of the manufacturer does not allow any concessions in this area. When it comes to choosing the optimal solutions from the scope of real time quality control, AIC relies to a large extent on its team concentrated in RMA – Laser Technology Business Unit of AIC S.A.
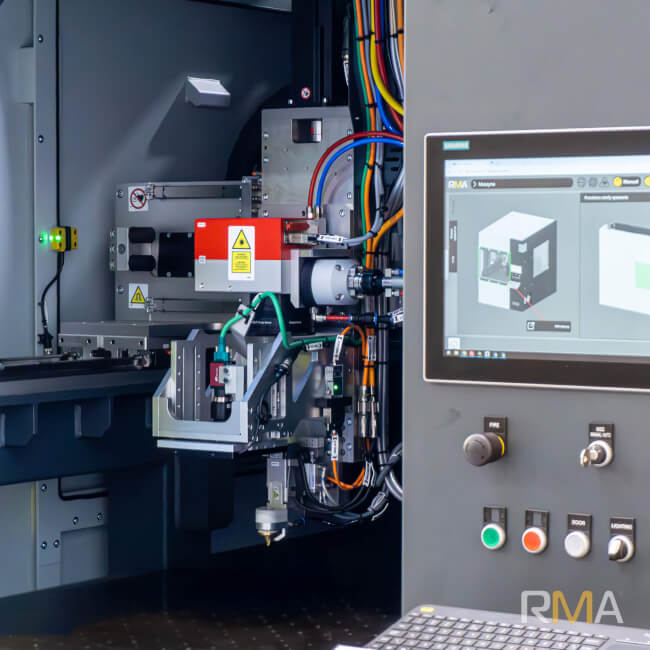
In the third quarter of 2020, the RMA team, after a series of laboratory tests performed for the VC heat exchanger, implemented a real-time welding monitoring system based on the LWM (Laser Welding Monitor) solution from Precitec GmbH & Co. KG. For years, Precitec, one of the leaders in laser cutting, has been successfully developing control tools, especially for the automotive industry. Among other applications, they were used to monitor the welding process of auto body parts by leading car manufacturers such as BMW, VW or GM. Precitec was one of the first to enable the detection of „false friends” type defects, characterised by lack of material connection despite the presence of welding marks on both elements, mostly due to insufficient pressure during the joining of galvanized sheets.
What is the phenomenon of the LWM solution, and what defects can it detect?
The LWM solution, through a series of sensors located in the optical path of the welding head, registers the effects occurring during laser welding. A unique feature of the system is the use of up to three bands of radiation: visible light, reflected laser radiation, and infrared heat radiation (SWIR). Each of these three bands has a different course in function of the welding time and represents a unique „fingerprint” for the reference weld. A predefined defect or deviation from the preset welding parameters is immediately visible in the set of process data and is shown in the corresponding diagrams. The automatic system itself classifies the registered anomalies as welding or process defects (e.g., too little shielding gas or contaminated optics).
Online monitoring with LWM
The Laser Welding Monitor (LWM 4.0 is used for online process monitoring in many areas of industrial production in 24/7 operation. In series production, it detects and documents a wealth of quality and productivity-relevant information to the laser welding seam. Thus, quality fluctuations caused by component tolerances, contamination, or different material batches can be monitored and detected.
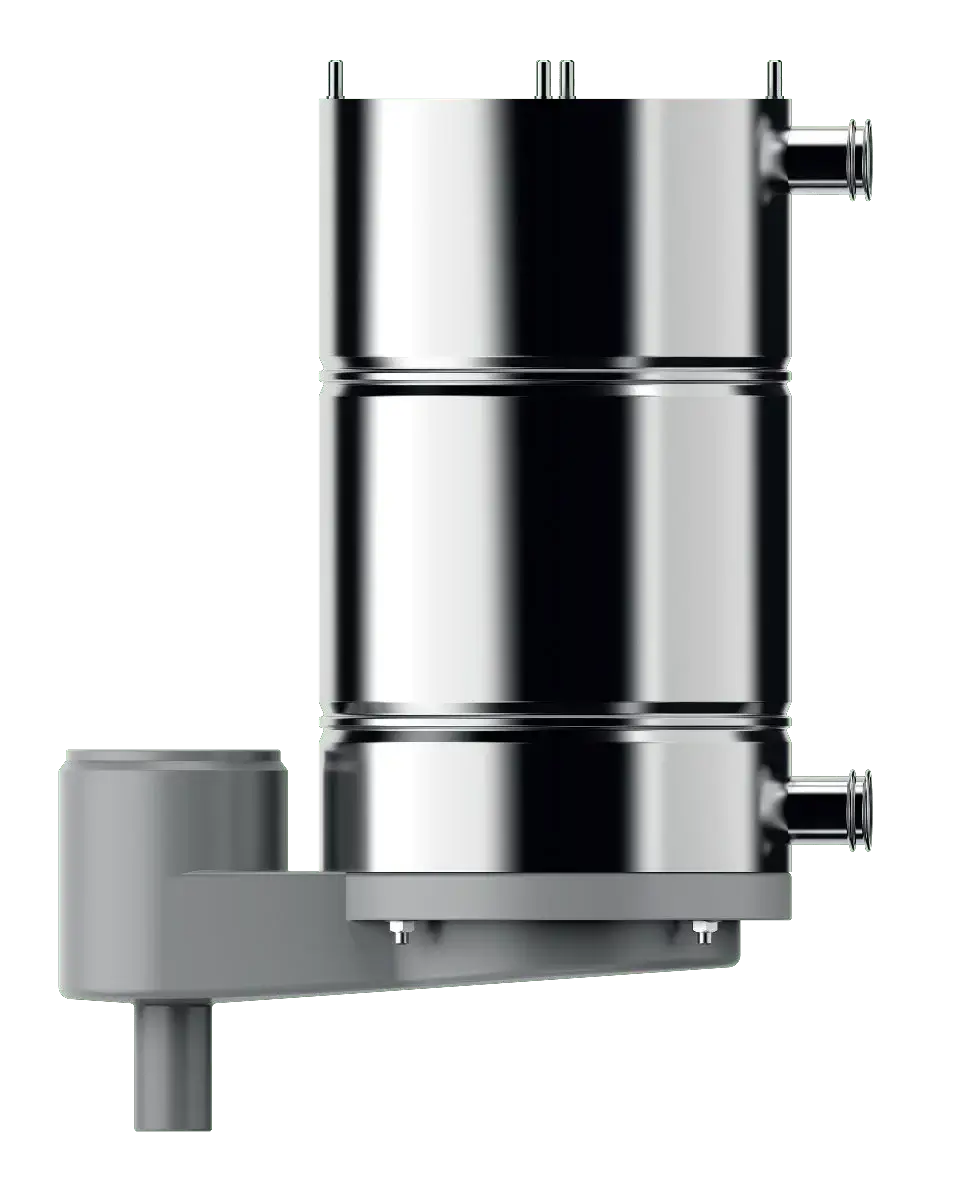
The area where the online laser welding monitoring system will be particularly useful is the process of laser welding of shell and tube heat exchangers of the VC family (Fig. 1), which is carried out with a set of mirror heads which provide more than two hundred tube and mesh connections in less than 4 minutes.
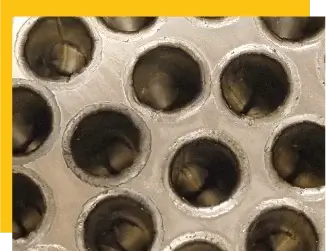
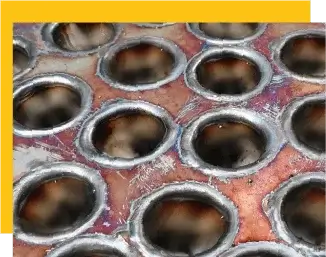
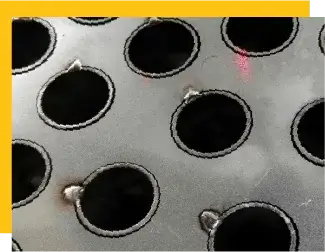
The essence of the process is to make a butt joint (a tube-to-Tubesheet connection according to ASME) between Ø16 × 1 mm pipes made of ferritic steel UNS S43932 and a 1.6 mm thick mesh wall made of the same material. Tubes are placed in a concentric circuit layout (Fig. 2.).
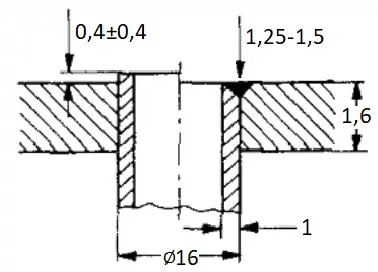
The required welding penetration oscillates between 1.25 and 1.5 mm, measured from the weld face, with the tube extending at 0.4 ±0.4mm above the screen surface (Fig. 3). It is necessary to maintain ASME Section IV and to pass the pressure test (75 PSI).
The most common problem with this type of joints is the unrepeatable position of the elements after assembly, i.e. too high or to small tube extending or a variable width of the gap between the tube and the mesh opening.
Occasionally, such disturbances as a drop in laser power as a result of contaminated optics, a shortage of shielding gas, or a change in focal length are also noted. All of the above increase the possibility of a welding defect, such as too small welding penetration, non-uniformity of the weld face, or porous construction.
Summary
The experience gained during the implementation tests of the online quality control system clearly shows that the use of such solutions can bring substantial benefits to companies. The possibility of detecting a welding defect immediately during production allows us to react effectively to deviations from the set process parameters and to correct them without incurring unnecessary losses. The analysis of data collected during intensive, large-scale production makes it possible to link potential defects (e.g., type, frequency, and place of occurrence) with issues occurring during the assembly process, preparation, and quality control of input components, which directly precede the welding process.
Following the Industry 4.0 and Smart Factory concepts, the information obtained from the online quality control system allows for an even better performance of the tasks that the quality control departments of manufacturing companies are faced with. The possibility of continuous data transfer to dedicated software supporting intelligent production, quality, and supply chain management generates additional value, which directly translates into easily countable benefits (cost, quality, and image). Integrated with the control system, an intuitive method of archiving quality data allows for optimal linking of quality records with specific welds. In the end, this brings with it additional possibilities in the area of tracking and identification of all welded joints in the context of the long-term use of the product by the end customer and the resulting warranty and service implications.
In the following sections of our publication, we will present the operation of other alternative systems for real-time quality control. We would first like to focus on the innovative LDD-700 (In-Line Scanning Weld Monitor) system from IPG Photonics. Enjoy your reading!


